TEL:+86 132 6656 7067





An industrial SFP connection can fail in several different ways. Sometimes the switch does not recognize the transceiver at all. In other cases, the port establishes a link but repeatedly disconnects, reports low received optical power or accumulates communication errors. These symptoms may look similar from the network management interface, but their underlying causes can be very different.
Industrial installations make fault diagnosis more challenging because optical equipment may operate in outdoor cabinets, factory environments and remote locations. Temperature changes, vibration, long fiber routes and limited maintenance access can all contribute to connection instability.
Effective troubleshooting starts by identifying the actual failure symptom and collecting diagnostic information before changing hardware. Checking the host configuration, transceiver identification, fiber connections, optical power and interface statistics in a consistent order helps isolate the problem without replacing components unnecessarily.
1. Identify the Type of SFP Link Failure
Before inspecting the transceiver, determine whether the problem is a complete loss of connectivity, an intermittent physical connection or degraded data transmission. Each condition requires a different diagnostic approach.
| Failure Symptom | Possible Causes | Initial Diagnostic Focus |
|---|---|---|
| Port remains Link Down | Unsupported SFP, incorrect fiber connection, incompatible wavelengths, damaged cable or disabled port. | Host recognition, interface status and optical connection. |
| Link repeatedly goes Up and Down | Loose connectors, damaged fiber, unstable optical power, temperature changes or configuration mismatch. | Event logs, DDM readings and physical connections. |
| Link is Up but packets are lost | Marginal optical signal, fiber errors, FEC mismatch or network configuration problems. | Interface counters, BER, FEC and received optical power. |
| Low RX optical power alarm | High fiber loss, dirty connectors, damaged fiber or weak remote transmitter. | Optical power at both ends and fiber-path inspection. |
| Transceiver is not recognized | Module coding, unsupported part number, EEPROM read failure or host compatibility issue. | Module identification and host software support. |
| Failure occurs mainly at high temperatures | Insufficient thermal margin, restricted airflow or temperature-dependent component behavior. | Module temperature, optical performance and host cooling conditions. |
Recording the original symptoms is important. Note the affected port, device model, link state, timestamps, alarms and whether the problem occurs continuously or only under particular operating conditions.
2. Check Switch Port Status and System Logs
The host switch provides the first indication of whether the problem originates from port configuration, module recognition or the physical optical connection.
Start by checking:
Whether the interface is administratively enabled.
Whether the switch detects an optical transceiver in the port.
Whether the port reports Link Up or Link Down.
Whether the configured speed matches the connected module.
Whether system logs report unsupported transceivers or interface faults.
Whether repeated link-state changes appear in the event history.
On supported platforms, interface status and system logs can reveal whether a port is disabled, failing to establish a physical connection or repeatedly changing state.
For example, Cisco Catalyst troubleshooting documentation recommends confirming link-flap events in system logs, checking physical connectivity, reviewing interface counters and examining DOM readings for supported optical modules.
Useful diagnostic information
| Information | What It Helps Identify |
|---|---|
| Interface administrative status | Whether the port has been disabled by configuration. |
| Physical link state | Whether the optical interface has established a connection. |
| Transceiver detection | Whether the host can identify the installed module. |
| System event logs | When link failures, module alarms or recognition errors occurred. |
| Interface error counters | Whether the connection is experiencing data transmission errors. |
Command syntax varies between equipment manufacturers and operating systems. Use the diagnostic commands documented for the actual switch model rather than assuming that Cisco, Juniper, Nokia and other platforms use identical commands.
3. Verify SFP Compatibility and Module Identification
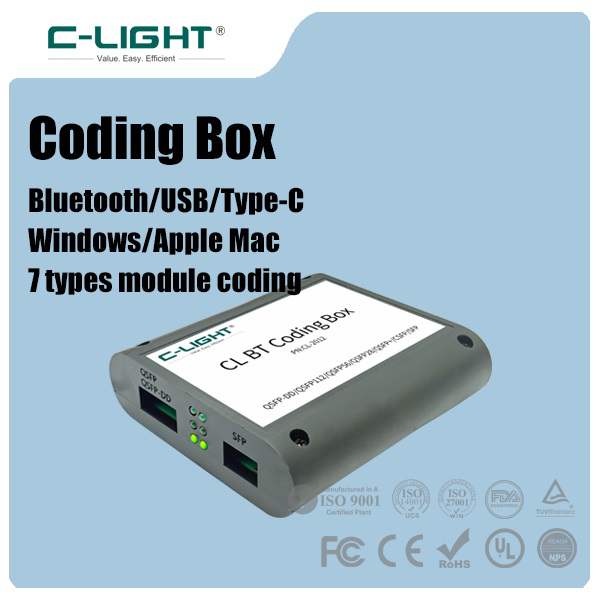
An SFP module may fit physically into a port but still be rejected by the host. Compatibility problems can involve module coding, EEPROM information, supported data rates, firmware restrictions or power requirements.
Check the following information reported by the transceiver:
Manufacturer name.
Product model and part number.
Serial number and hardware revision, where available.
Supported data rate and optical interface.
Wavelength and fiber type.
DDM/DOM support and diagnostic information.
Compare the reported information with the module datasheet and the host equipment's supported-transceiver documentation.
Common compatibility problems
| Compatibility Issue | Possible Symptom | What to Verify |
|---|---|---|
| Unsupported module coding | Transceiver warning or module rejection. | EEPROM identification and platform support. |
| Incorrect data rate | Port cannot establish the expected link. | Supported speed and port configuration at both ends. |
| Firmware restriction | Module recognition changes after a software update. | Host software version and compatibility documentation. |
| Incorrect optical interface | Module is recognized but no optical link is established. | Wavelength, fiber type and interface specification. |
| Power incompatibility | Unexpected initialization or module operating behavior. | Host power capability and module consumption. |
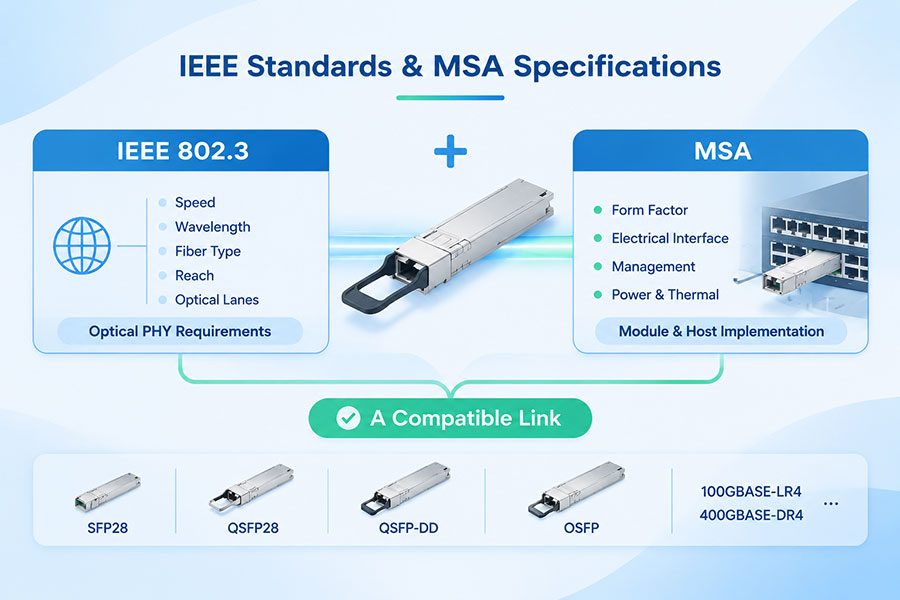
MSA and IEEE compliance provide a technical foundation for interoperability, but they do not guarantee that every switch will accept every third-party transceiver. Validate the exact module part number against the actual host model and software version.
4. Inspect Fiber Connections and Connector Condition
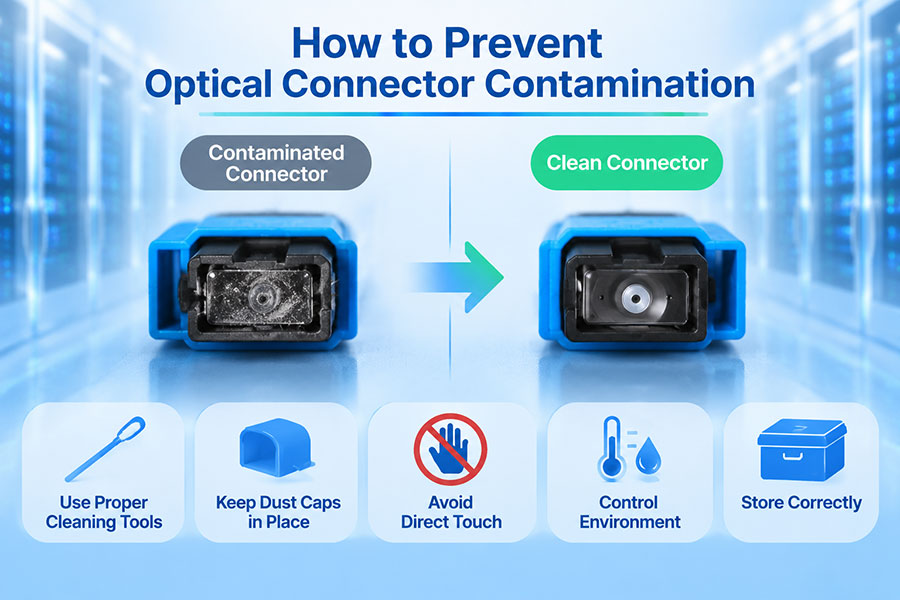
Connector contamination is one of the practical causes of optical link degradation. Dust, oil, scratches and poor connector engagement can increase insertion loss or affect the stability of the optical signal.
Check the entire optical connection, including both transceiver ports and the intermediate patch panels.
Inspection should cover:
Whether each LC or other specified connector is fully seated.
Whether the fiber cable is damaged or excessively bent.
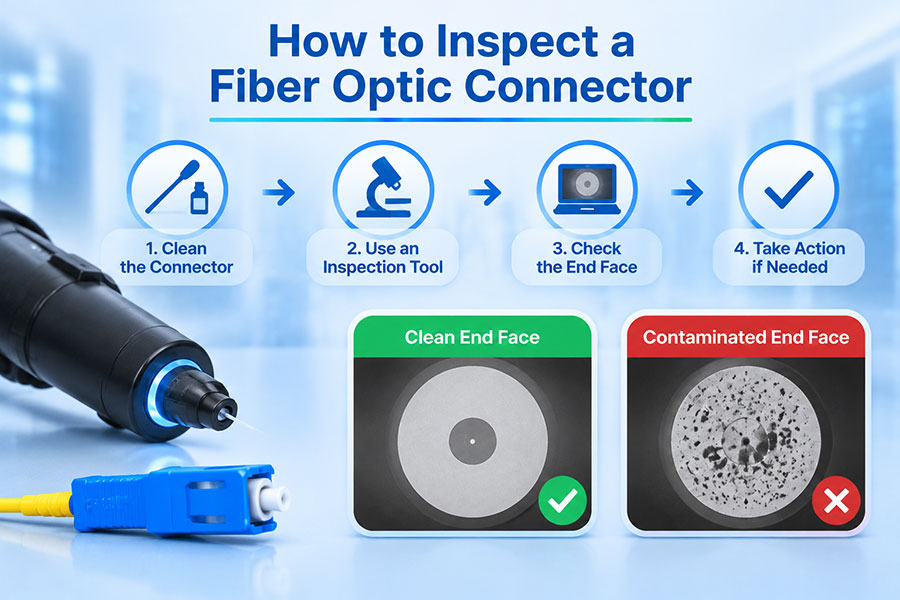
Whether connector end faces are clean and free from visible defects.
Whether patch-panel adapters and intermediate connections are secure.
Whether protective dust caps were removed from the active connection points.
Whether the connector type and polish are appropriate for the equipment.
Use suitable fiber inspection and cleaning equipment, following the connector and equipment manufacturer's procedures. Never look directly into an optical port or fiber end to check whether a signal is present. Use appropriate optical test instruments for that purpose.
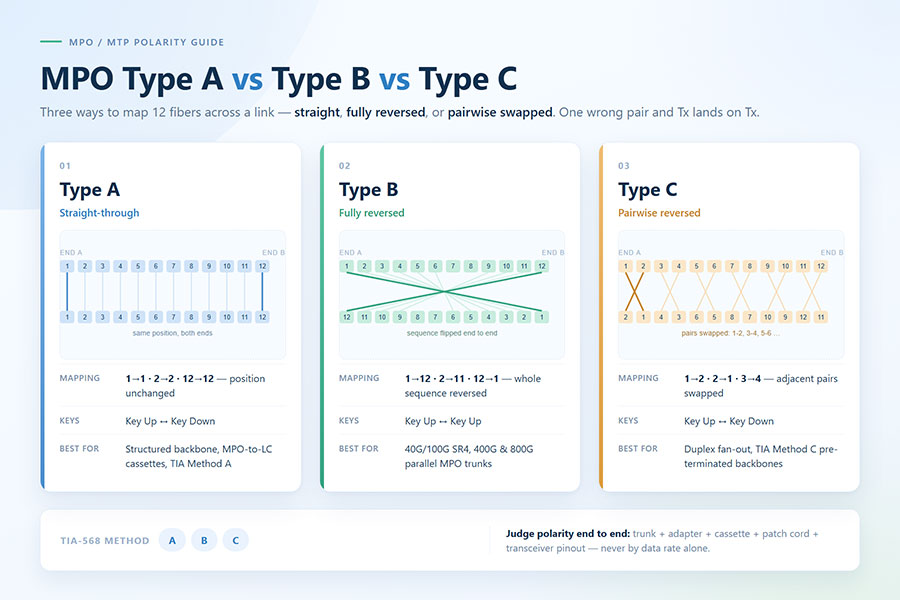
Check fiber polarity and Tx/Rx orientation
A duplex optical connection requires the transmitter at one end to connect to the receiver at the opposite end. If the fibers are reversed, the physical connection may appear correct while the link remains down.
For BiDi modules, check the wavelength direction instead of applying the duplex-fiber arrangement. The two ends must use complementary transmit and receive wavelengths.
5. Check Fiber Type, Wavelength and Transmission Distance
A transceiver pair must have compatible optical characteristics. Matching the SFP form factor and data rate is not enough if the modules use different wavelengths or incompatible fiber types.
| Optical Configuration | Fiber Type | Typical Wavelength | Common Compatibility Check |
|---|---|---|---|
| 1000BASE-SX | Multimode | 850nm | Check multimode fiber grade and supported reach. |
| 1000BASE-LX | Primarily single-mode | 1310nm | Confirm the single-mode optical interface and link budget. |
| 10GBASE-SR | Multimode | 850nm | Check OM3/OM4 fiber capability and reach. |
| 10GBASE-LR | Single-mode | 1310nm | Confirm compatible 10km-class optical specifications. |
| 10GBASE-ER | Single-mode | 1550nm | Check reach, optical power budget and receiver limits. |
| BiDi SFP | Single-mode, one strand | Complementary wavelengths | Confirm that opposite ends have matching wavelength pairs. |
Also confirm that the fiber route does not exceed the module's supported reach. A module may be recognized by the switch and still fail to establish a link if the fiber type or transmission distance is unsuitable.
6. Read DDM/DOM Values to Identify Optical Problems
Digital Diagnostic Monitoring (DDM), also called Digital Optical Monitoring (DOM), provides information about selected operating parameters inside a compatible transceiver.
These readings are useful because they help distinguish a possible transmitter problem from a receiver-side or fiber-path issue.
| DDM Parameter | Abnormal Pattern | Possible Investigation |
|---|---|---|
| Module temperature | Temperature approaches or exceeds the specified limit. | Check cabinet temperature, airflow and host thermal conditions. |
| Supply voltage | Voltage falls outside the specified operating range. | Review host power conditions and module specifications. |
| TX bias current | Unusual or steadily increasing bias current. | Investigate laser operating behavior and compare with TX power. |
| TX optical power | Output is below the specified limit or changes abnormally. | Check the local transmitter, module and host port. |
| RX optical power | Received power is below sensitivity margin or exceeds overload. | Investigate the remote transmitter, fiber path and receiver input level. |
Compare TX and RX power at both ends
Checking only one transceiver provides an incomplete picture. Compare the local transmitter reading with the remote receiver reading, then check the reverse direction on duplex links.
| Observed Result | Possible Fault Location | Next Check |
|---|---|---|
| Local TX power is low | Local transceiver or host-side operating condition. | Compare TX power with the module specification and the remote RX reading. |
| Local TX is normal but remote RX is low | Fiber route, connectors or remote receiver-side connection. | Measure the optical path loss and inspect intermediate connections. |
| RX power is too high | Long-reach transmitter used over a low-loss link. | Compare received power with the receiver overload specification. |
| TX and RX are both abnormal | Multiple faults, module problems or incorrect diagnostic readings. | Check both modules, host conditions and external power measurements. |
DDM values should be interpreted against the exact manufacturer's thresholds and accuracy specifications. They are intended for operational monitoring and do not replace calibrated optical power measurements.
7. Measure Optical Power and Test the Fiber Path
If DDM readings indicate low optical power or do not clearly identify the cause, use suitable optical test equipment to evaluate the installed fiber route.
Typical tools include:
| Test Instrument | Primary Function | When It Is Useful |
|---|---|---|
| Optical power meter | Measures optical power at a specified wavelength. | Verifying actual received power or transmitter output. |
| Optical light source | Provides a controlled optical signal. | Measuring insertion loss when used with a power meter. |
| Optical loss test set | Measures end-to-end optical insertion loss. | Validating the complete installed fiber route. |
| OTDR | Identifies events and loss locations along a fiber route. | Investigating suspected breaks, damaged sections or high-loss connections. |
| Fiber inspection probe | Examines connector end-face condition. | Checking contamination or physical connector defects. |
External measurements should use the appropriate wavelength and test setup. For example, a 1310nm link should be evaluated using suitable 1310nm test equipment rather than assuming a measurement at another wavelength will give the same result.
An OTDR trace can help locate a fault, but it does not replace a suitable end-to-end insertion-loss measurement for link acceptance. Both types of test provide different information.
8. Investigate Link Up but Packet Loss or High Error Counts
Not every SFP problem causes a complete loss of link. A connection may report Link Up while still experiencing packet loss, CRC errors, FCS errors or other physical-layer problems.
This often indicates that the connection has enough signal to establish a link but does not have sufficient signal quality or configuration compatibility to maintain error-free communication.
| Observed Error | Possible Cause | Diagnostic Focus |
|---|---|---|
| CRC or FCS errors | Signal degradation, physical connection issues or other Layer 1/2 problems. | Inspect fiber, optical power and interface counters. |
| Increasing FEC corrected errors | Signal conditions are causing correctable transmission errors. | Review pre-FEC performance and optical signal margin. |
| Uncorrectable FEC errors | Error conditions exceed the correction capability of the configured FEC. | Verify optical quality, FEC mode and interface compatibility. |
| Intermittent packet loss | Unstable optical signal, link flaps or network configuration issues. | Correlate packet loss with interface events and optical readings. |
| High BER | Insufficient signal quality, optical impairment or electrical interface problems. | Perform BER testing and review optical specifications. |
Check whether both ends use compatible speed, FEC and interface settings. For high-speed optical links, an incorrect FEC configuration may prevent proper communication or cause poor error performance.
Also separate physical-layer errors from network-layer problems. If optical readings and interface counters remain normal, investigate VLAN configuration, IP settings, routing and other network parameters rather than assuming the SFP is defective.
9. Troubleshoot Intermittent Link Flaps
A link flap occurs when an interface repeatedly changes between Up and Down. In industrial environments, these events may appear during temperature changes, equipment startup, vibration or periods of heavy network activity.
Common causes include:
Loose or contaminated fiber connections.
Damaged patch cords or intermediate patch-panel connections.
Unsupported or defective SFP modules.
Incorrect speed, duplex or negotiation settings where applicable.
FEC configuration mismatch on supported high-speed interfaces.
Host port or equipment hardware problems.
Temperature or power conditions outside the specified operating range.
Use event timestamps to find a pattern
Record the times when the link drops and compare them with module temperature, system logs, equipment alarms and other network events.
For example, if repeated link failures occur during the hottest part of the day, inspect the cabinet's cooling conditions and module case temperature. If a link drops immediately after equipment restarts or software changes, review port configuration and host compatibility.
For persistent link flaps, compare the problem port with a known-good compatible port under controlled conditions. Avoid changing multiple components simultaneously because doing so makes the fault difficult to isolate.
10. Check Industrial Temperature and Environmental Conditions
Industrial SFP modules may operate in outdoor cabinets, production areas and transportation systems where temperature changes and vibration affect network equipment.
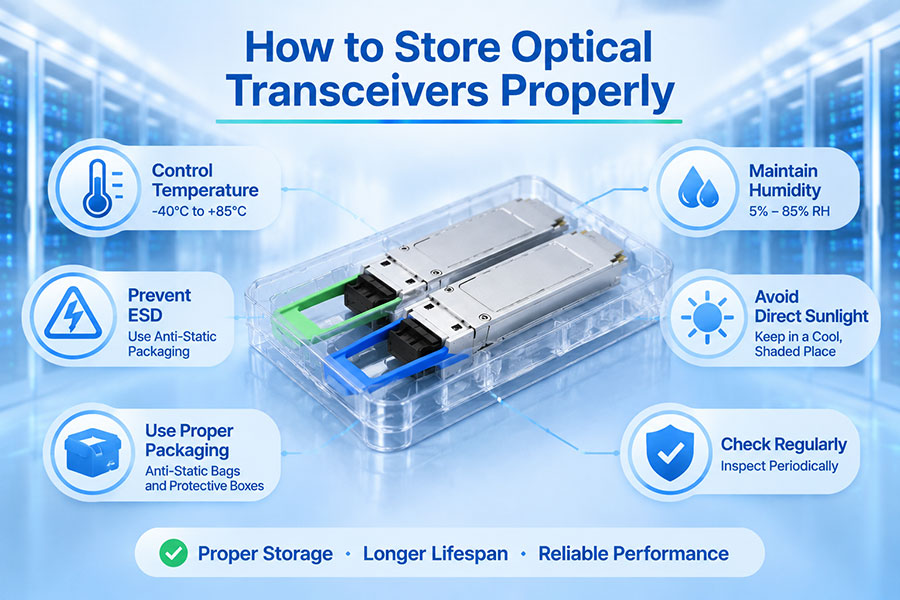
Common temperature categories include commercial modules around 0°C to +70°C and industrial modules commonly specified for -40°C to +85°C. Some individual models support wider ranges, but the applicable specification must be confirmed for each part number.
Investigate these conditions when a link failure appears related to the environment:
Module case temperature: Check whether the transceiver is operating within its specified limit.
Ambient temperature: Review the temperature inside the cabinet rather than relying only on outdoor weather conditions.
Airflow: Check whether neighboring modules or equipment obstruct cooling.
Power supply: Investigate abnormal supply voltage or equipment power events.
Vibration: Check whether cable or module connections are affected by mechanical movement.
Humidity and condensation: Consider whether moisture or contamination is affecting connectors or host equipment.
Remember that the module's case-temperature range and the host switch's operating-temperature rating are separate specifications. Both must be suitable for the installation.
11. Isolate the Fault by Changing One Variable at a Time
After collecting the initial measurements, use controlled component substitution to identify whether the problem follows the transceiver, fiber cable or host port.
A practical isolation sequence is:
Record the original condition: Save interface logs, DDM readings and error counters.
Check the fiber connection: Inspect and clean the connectors using approved procedures.
Test the fiber path: Use appropriate test equipment to check optical power and insertion loss.
Verify the host port: Check configuration and port status, then use a known-good port where appropriate.
Test with a known-good compatible module: Use a module with matching optical specifications and host support.
Check the remote end: Verify the opposite transceiver, its host and the optical connection.
Repeat the performance check: Confirm link stability, optical readings and error counters after each controlled change.
Changing one variable at a time makes it easier to determine whether the failure follows the module, port or fiber path. Use the equipment manufacturer's approved procedures when inserting or removing transceivers, and follow applicable maintenance and laser-safety requirements.
12. Common Industrial SFP Link Failures and Recommended Checks
The following table connects typical field symptoms with the most useful first checks. It can be used as a quick reference during industrial network maintenance.
| Symptom | Likely Area to Investigate | Recommended Verification |
|---|---|---|
| SFP not detected | Host compatibility or module identification. | Check EEPROM information, port support and system logs. |
| Link remains Down | Optical connection or interface mismatch. | Check Tx/Rx orientation, wavelength, fiber type and port configuration. |
| Low RX power | Fiber loss or remote transmitter. | Compare both-end DDM readings and measure path loss. |
| High RX power | Receiver overload. | Compare received power with the overload specification. |
| Link flaps repeatedly | Physical connection, module, port or environmental instability. | Review timestamps, temperature, interface counters and connection condition. |
| Link Up with CRC errors | Signal quality or physical-layer problem. | Check optical margin, fiber connections and error statistics. |
| Failure after temperature rise | Thermal conditions or temperature-dependent performance. | Review module case temperature, airflow and high-temperature test data. |
| One direction works but the other does not | One transmitter, receiver or fiber direction may be faulty. | Compare Tx and Rx power independently at both ends. |
13. C-LIGHT Industrial SFP Products and Compatibility Testing
C-LIGHT provides optical transceivers for industrial and access network applications, including Gigabit SFP and 10G SFP+ configurations. When troubleshooting a persistent link failure, selecting a replacement should be based on the exact host, wavelength, fiber type, distance and temperature requirements.
1.25G Industrial BiDi SFP, 10km
The C-LIGHT 1.25G BiDi 10km SFP series includes the CLSFPGEBD131510DI and CLSFPGEBD151310DI complementary wavelength models.
Published specifications include:
Data rate: up to 1.25Gbps.
Wavelength: complementary 1310nm/1550nm configurations.
Fiber: single-mode, 9/125µm.
Transmission distance: up to 10km.
Connector: simplex LC.
Operating temperature: -40°C to +85°C.
DDM/DOM: supported.
When investigating a BiDi link, confirm that the two installed modules form the correct complementary pair. The same wavelength direction at both ends is not a compatible configuration.
1.25G Industrial BiDi SFP, 20km
The C-LIGHT 1.25G BiDi 20km SFP series includes the CLSFPGEBD131520DI and CLSFPGEBD151320DI models.
These modules support single-mode fiber and complementary 1310nm/1550nm wavelengths. The published specifications include -40°C to +85°C operating temperature and DDM/DOM monitoring.
10G Industrial SFP+: CLSFP1510GZR-S
The C-LIGHT 10G SFP+ portfolio includes the CLSFP1510GZR-S, a 1550nm, 80km single-mode optical transceiver listed with a -40°C to +100°C operating case-temperature range.
This is a model-specific industrial option. Before using it as a replacement for a failed module, verify its optical budget, receiver overload limit, interface requirements and compatibility with the intended host device.
Professional compatibility testing
C-LIGHT's optical module compatibility testing service describes hardware verification on switch platforms, including module insertion and removal, locking and unlocking, DDM parameter monitoring, basic module identification and network communication checks.
The published testing capabilities include monitoring transmitted optical power, received optical power, temperature, voltage, current and threshold alarms. Port configuration and network checks include IP, VLAN, ping and multi-port bundling tests.
Optical performance and reliability verification
C-LIGHT's optical module performance testing covers wavelength, optical power, eye diagrams, BER, receiver sensitivity and temperature-related testing.
The C-LIGHT reliability testing program describes high- and low-temperature testing, temperature cycling, thermal shock, ESD, mechanical shock, vibration and long-duration powered testing.
For a replacement recommendation, provide the switch model, software version, original SFP part number, link distance, fiber type and observed failure symptoms. This information helps identify a suitable module and determine which compatibility and optical tests are relevant.
14. Industrial SFP Troubleshooting Checklist
Before declaring a module defective or replacing it, complete the following checks:
Record the affected port, link state, event logs and failure time.
Confirm that the port is enabled and supports the installed SFP.
Verify module identification and host compatibility.
Check data rate, optical standard and configuration at both ends.
Confirm wavelength, fiber type, connector and Tx/Rx orientation.
Inspect and clean the fiber connectors using approved procedures.
Check TX and RX optical power against the exact datasheet limits.
Measure fiber insertion loss if optical power readings are abnormal.
Review temperature, voltage and other DDM/DOM parameters.
Check CRC, FCS, BER and FEC statistics where applicable.
Isolate the module, cable and port using known-good compatible components.
Repeat link and traffic tests after corrective action.
15. Conclusion
Industrial SFP link failures can originate from the transceiver, host equipment, fiber connection, optical power budget or environmental conditions. The most effective troubleshooting process identifies the failure symptom first, then checks port status, module recognition, fiber compatibility, optical power and network error statistics in a consistent order.
DDM/DOM readings help reveal abnormal module conditions, while optical power meters and fiber test equipment provide independent measurements of the installed link. Traffic testing, BER and FEC statistics are also important when the link is Up but communication quality remains poor.
For industrial networks, temperature and reliability should not be overlooked. A replacement module must match the original optical requirements and remain within the operating limits of both the host and the installation. Recording test results against the exact transceiver and equipment combination makes future fault diagnosis faster and more reliable.
Need help troubleshooting or verifying industrial SFP compatibility?
C-LIGHT provides industrial SFP and SFP+ transceivers, switch compatibility testing, DDM/DOM verification and optical performance testing for industrial fiber networks.
 >

 >
 >
 >
 >
 >
 >
 >