TEL:+86 132 6656 7067





Optical transceivers are designed for convenient installation and replacement in switches, routers, servers, and telecommunications equipment. Most SFP, SFP+, SFP28, QSFP-DD, and OSFP modules use hot-pluggable interfaces, allowing compatible modules to be removed without shutting down the entire host device. However, incorrect removal can damage the module, fiber connector, port, or locking mechanism.
Safe removal requires attention to laser safety, active network connections, electrostatic discharge (ESD), and the module's mechanical design. Whether replacing a faulty SFP or upgrading an 800G optical interface, following the correct procedure helps protect equipment and maintain network reliability.
1. Check the Optical Transceiver Before Removal
Before removing an optical transceiver, identify the module type and review the host equipment manufacturer's instructions. Different form factors use different retention mechanisms, and their removal procedures are not identical.
| Transceiver type | Common retention mechanism | Removal consideration |
|---|---|---|
| SFP / SFP+ | Bail latch or pull tab | Release the locking mechanism before withdrawing the module |
| SFP28 | Bail latch or pull tab | Follow the module-specific release direction |
| QSFP+ / QSFP28 | Pull tab or integrated release mechanism | Use the designated release feature without pulling the housing forcefully |
| QSFP-DD | Pull tab or module-specific latch | Check the host port's mechanical release instructions |
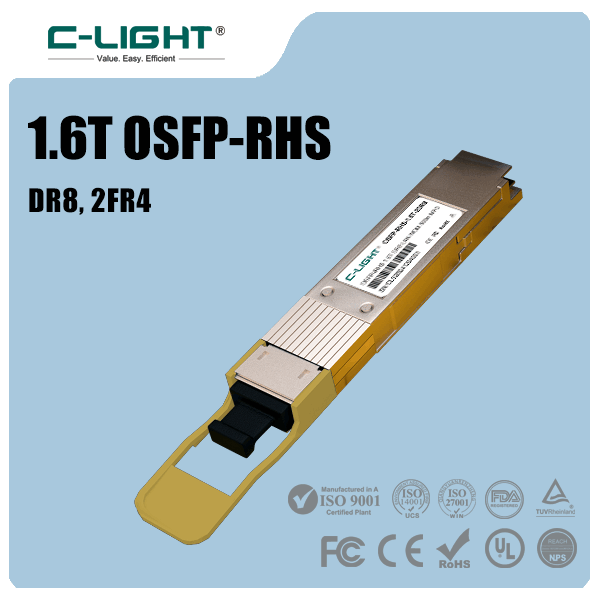
| OSFP | Module-specific latch or release mechanism | Follow the manufacturer's handling and extraction procedure |
Do not assume that every module uses the same release mechanism, even when two transceivers have similar dimensions. Check the product documentation if the latch design is unfamiliar.
2. Confirm Network Status Before Disconnecting
Many optical transceivers support hot-plugging, but removing an active module can interrupt network traffic carried by that interface. Before removal, determine whether the connection is redundant and whether another link can maintain service.
Identify the device, port number, and connected network link.
Check whether the interface carries active production traffic.
Confirm that network redundancy or an alternative path is available where required.
Notify the responsible network administrator before planned maintenance.
Review interface status and error counters if the module is being replaced because of a fault.
Follow the host device manufacturer's instructions for hot-plug removal or shutdown.
For production switches and routers, use an approved maintenance procedure. A hot-pluggable module does not guarantee that removing it will have no service impact.
3. Observe Laser Safety Precautions
Laser safety is essential whenever an optical transceiver or fiber connection is disconnected. Optical transmitters may emit invisible laser radiation, so the absence of visible light does not mean that an optical port is inactive.
Before handling the optical connection:
Never look directly into the transceiver's optical port or the end of a fiber cable.
Do not use magnifying instruments to inspect an active optical interface.
Follow the equipment manufacturer's laser safety procedures.
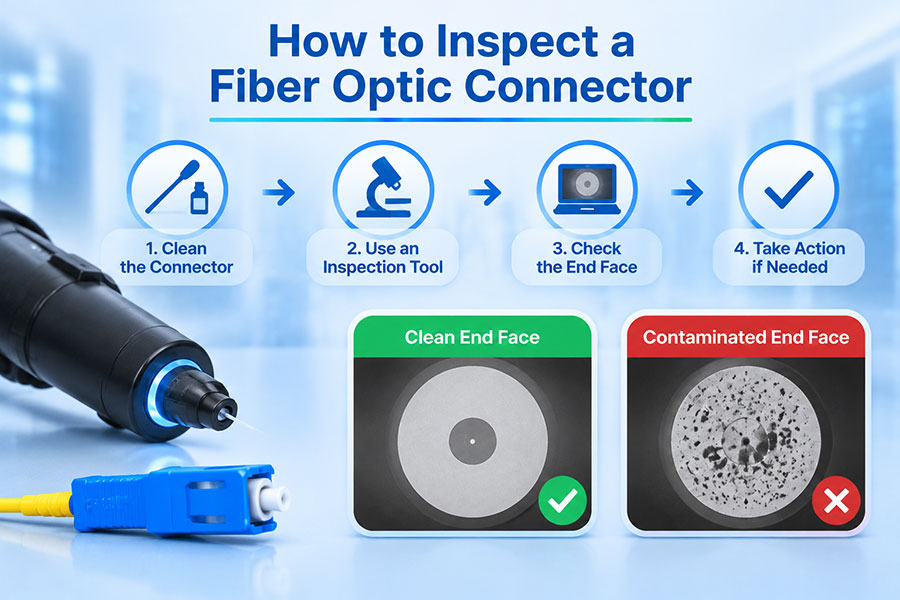
Use appropriate optical inspection equipment when checking connector end faces.
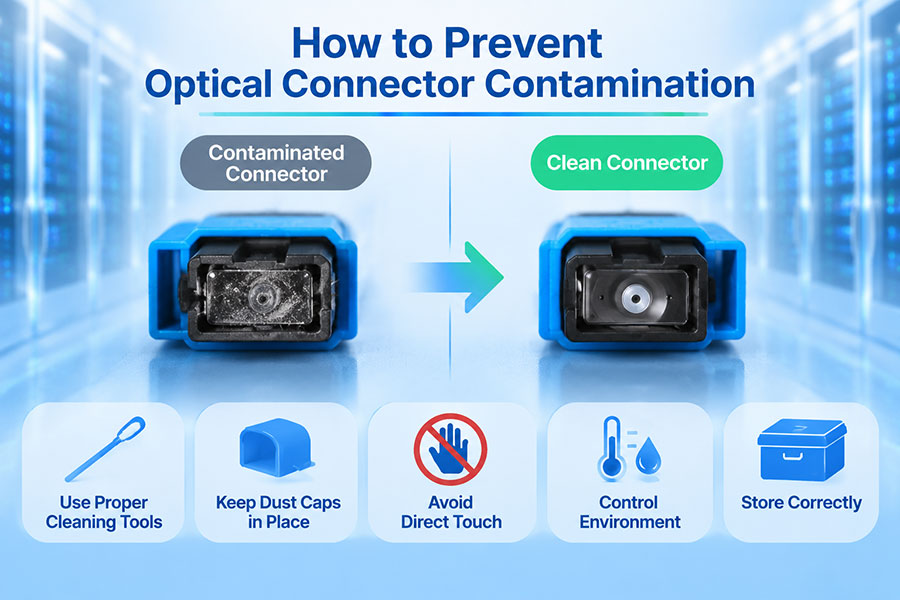
Keep disconnected optical interfaces protected with suitable dust caps.
For high-power optical systems, coherent modules, and long-distance transmission equipment, follow the applicable laser classification and site safety requirements. Do not assume that a disconnected fiber is safe to inspect without verifying its condition through an approved procedure.
4. Disconnect the Fiber Optic Patch Cord
Where the module uses a detachable fiber connection, disconnect the patch cord before extracting the transceiver from the host port, unless the equipment manufacturer's procedure specifies otherwise.
Locate the connector attached to the optical transceiver.
Hold the connector housing rather than pulling the fiber cable itself.
Release the connector latch if the connector design includes one.
Withdraw the connector carefully without twisting or applying excessive force.
Place a suitable dust cap on the disconnected connector.
Protect the exposed optical interface on the transceiver when appropriate.
For duplex LC connections, disconnect both fiber paths carefully. For BiDi transceivers, the single-fiber connection should also be handled by its connector housing. Avoid bending or pulling the patch cord sharply, as mechanical stress can damage the fiber or connector assembly.
5. Release the Optical Transceiver Locking Mechanism
After the fiber connection has been safely disconnected, release the transceiver's retention mechanism. The exact action depends on the module's form factor and mechanical design.
SFP and SFP+ modules with bail latches: Lower or move the bail latch into its designated release position. The latch disengages the retention feature that holds the module inside the host port.
SFP modules with pull tabs: Use the pull tab according to the manufacturer's instructions. The tab is designed to release the module's locking mechanism and provide a controlled extraction point.
QSFP and QSFP-DD modules: Use the integrated pull tab or release mechanism specified for the particular module. Do not pull on the fiber connector or apply force to the optical interface.
OSFP modules: Follow the module and host equipment instructions for releasing the retention mechanism. Some designs use specific mechanical features that differ from QSFP-style modules.
Do not use pliers, screwdrivers, or other improvised tools to force a module out of its port. If the release mechanism does not move normally, stop and check the installation orientation and host-specific removal instructions.
6. Extract the Transceiver from the Host Port
Once the locking mechanism is released, carefully withdraw the transceiver from the port.
Hold the designated pull tab, bail latch, or module extraction point.
Keep the module aligned with the port opening.
Pull it out smoothly without excessive force or sideways movement.
Avoid touching the electrical contacts or optical connector surfaces.
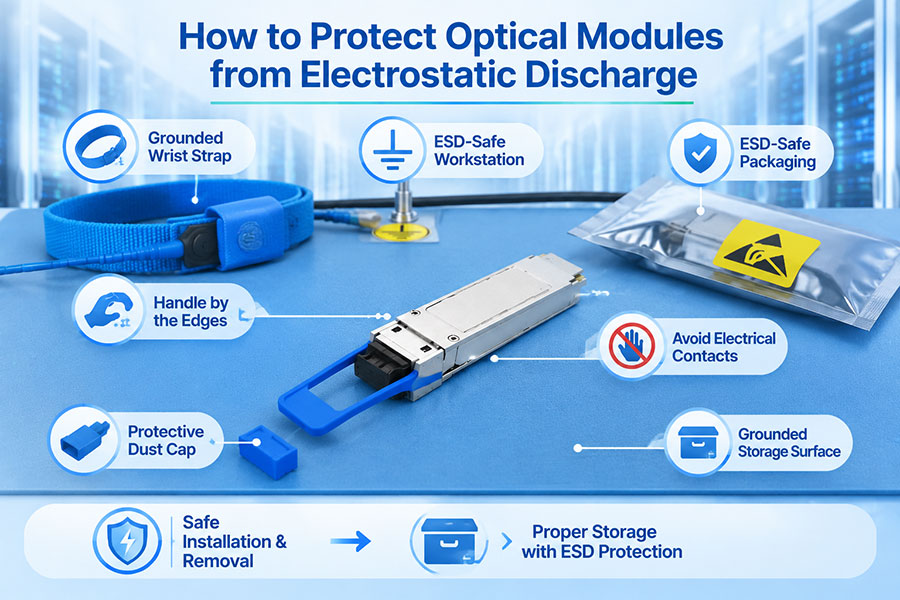
Place the removed module on an ESD-safe surface or in suitable protective packaging.
If the module resists removal, do not increase the pulling force. Check whether the latch has been fully released, whether the module is misaligned, or whether the host port has a specific extraction procedure.
7. Protect the Removed Optical Transceiver
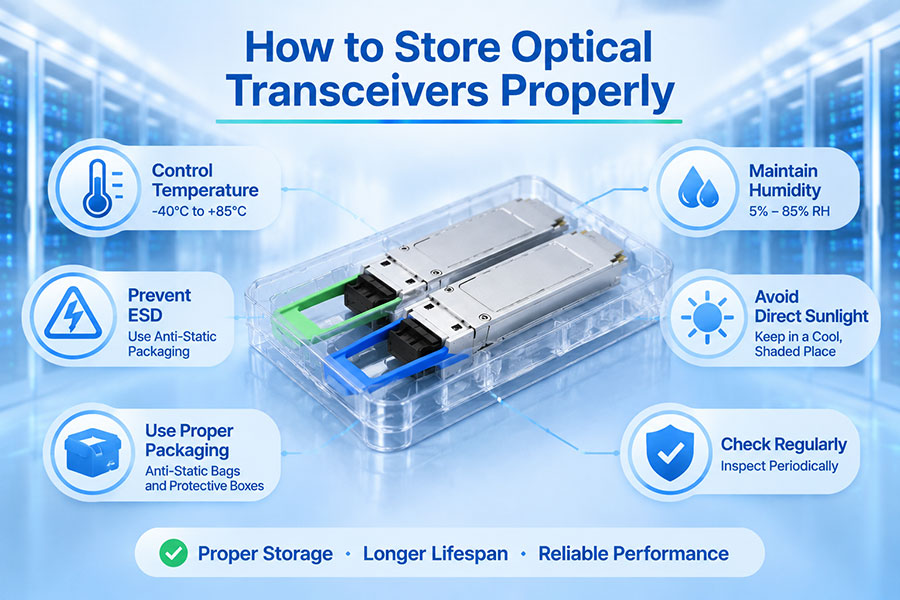
After extraction, proper handling and storage help prevent contamination, electrostatic damage, and mechanical deterioration. A module that is intended for reuse should be protected immediately after removal.
| Protection measure | Recommended practice | Reason |
|---|---|---|
| Optical interface protection | Install suitable dust caps | Prevents dust and foreign particles from entering optical interfaces |
| ESD protection | Place the module in an appropriate ESD-safe package | Reduces the risk of electrostatic damage |
| Mechanical protection | Use a dedicated storage tray or protective case | Prevents damage to the housing, latch, and connector |
| Environmental protection | Store under the manufacturer's specified conditions | Limits exposure to excessive temperature, humidity, and contamination |
| Identification | Record the module model, serial number, and removal reason | Supports maintenance traceability and troubleshooting |
Do not place loose optical transceivers together with metal tools or other objects that may damage their contacts or mechanical features. Keep unused modules in suitable protective packaging until they are needed again.
8. Common Mistakes When Removing Optical Transceivers
Several handling mistakes can damage optical modules or create avoidable network problems.
| Common mistake | Possible consequence | Correct approach |
|---|---|---|
| Pulling the module without releasing its latch | Damage to the locking mechanism or host port | Release the designated retention mechanism first |
| Pulling the fiber cable instead of the connector | Fiber or connector damage | Hold the connector housing during disconnection |
| Looking into an optical port | Exposure to potentially hazardous laser radiation | Follow laser safety procedures and use appropriate inspection equipment |
| Touching electrical contacts | Contamination or ESD-related damage | Handle the module by its housing and use ESD precautions |
| Using excessive extraction force | Mechanical damage to the module or host port | Stop and check the release mechanism and alignment |
| Leaving optical interfaces uncovered | Dust contamination and increased insertion loss after reconnection | Install suitable dust caps immediately |
| Removing an active production link without planning | Traffic interruption or service outage | Check redundancy and follow the maintenance procedure |
9. What to Check Before Installing a Replacement Module
If the purpose of removal is to replace a faulty or outdated transceiver, inspect the host port and fiber connection before installing another module.
Check the port for visible physical damage or foreign material.
Verify that the replacement module has the correct form factor and data rate.
Confirm wavelength, transmission distance, fiber type, and connector compatibility.
Check host-device compatibility and any firmware or coding requirements.
Inspect and clean fiber connectors using appropriate procedures.
Confirm that the replacement module's power consumption and temperature specifications are supported by the host.
After installation, verify module recognition, interface status, optical power, and link performance.
When replacing a module because of intermittent errors or abnormal optical readings, record the original DDM/DOM information and host logs before removal where practical. This information can help distinguish a transceiver fault from a fiber, connector, or host-device problem.
10. Conclusion: Safe Removal Protects Optical Modules and Network Equipment
Removing an optical transceiver safely requires more than pulling it out of a switch or router. Engineers should first consider network traffic, observe laser safety precautions, disconnect fiber connectors correctly, release the appropriate locking mechanism, and extract the module without excessive force.
After removal, ESD-safe handling, dust-cap protection, and suitable storage help preserve the module for future use. These procedures apply across common pluggable optical interfaces, although the exact mechanical release method depends on the transceiver form factor and host equipment design.
Following a consistent removal procedure reduces the risk of module damage, connector contamination, and unnecessary network interruptions. For optical transceiver replacement and compatibility requirements, Contact C-LIGHT.
 >

 >
 >
 >
 >
 >
 >
 >