TEL:+86 132 6656 7067





SFP (Small Form-factor Pluggable) optical transceivers provide a flexible way to connect switches, routers, servers, and other network devices through fiber-optic links. Their hot-pluggable design allows compatible modules to be installed or replaced without removing the entire network device from service. However, successful installation requires more than inserting a module into an available port. Compatibility, optical specifications, connector cleanliness, fiber polarity, and host configuration all affect whether the link operates correctly.
Whether deploying a 1G SFP, 10G SFP+, or another compatible pluggable optical interface, following a consistent installation process helps reduce connection errors and protects sensitive optical components.
1. Check SFP Transceiver Compatibility Before Installation
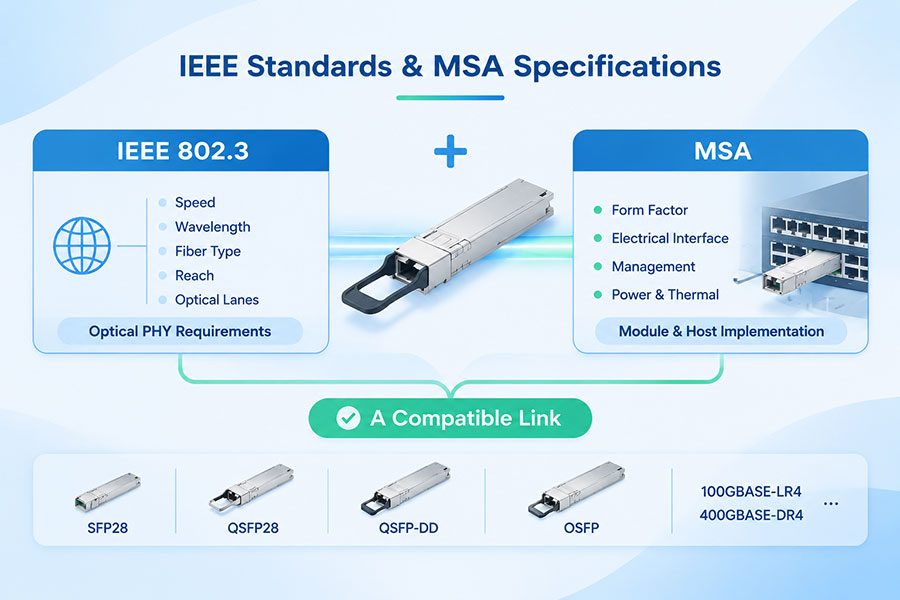
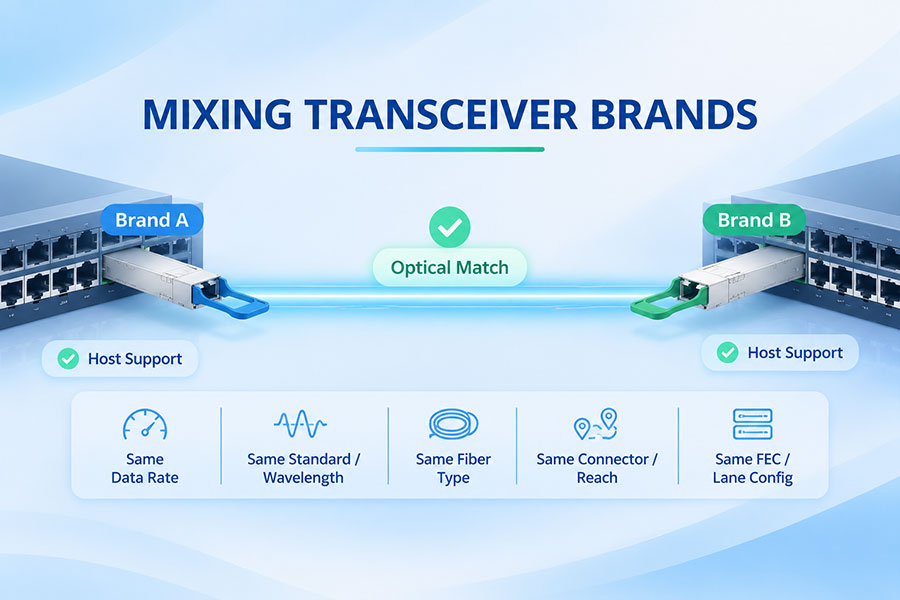
Before installing an SFP optical transceiver, confirm that the module is compatible with the host device and the intended optical link. A physically compatible module is not necessarily electrically, functionally, or optically compatible with every switch or router.
| Compatibility factor | What to verify |
|---|---|
| Form factor | Confirm that the host port supports the required SFP, SFP+, SFP28, or other module type. |
| Data rate | Match the module speed to the supported host port and network configuration. |
| Wavelength | Ensure the transmitter wavelength matches the receiver requirements at the opposite end. |
| Transmission distance | Select a module designed for the required link distance and optical budget. |
| Fiber type | Confirm single-mode or multimode fiber compatibility. |
| Connector type | Check whether the module uses LC duplex, simplex LC, or another specified interface. |
| Host compatibility | Verify supported vendor coding, firmware requirements, and platform restrictions. |
| Operating conditions | Check power consumption, temperature limits, and cooling requirements. |
For example, a 1G 1000BASE-SX SFP typically uses 850nm multimode optics, while a 1000BASE-LX SFP typically uses 1310nm single-mode optics. These modules are not interchangeable without considering the fiber and optical specifications.
For higher-speed connections, SFP+ modules generally support 10Gbps applications, while SFP28 modules are designed for 25Gbps applications. The host port must explicitly support the intended module and operating speed.
Refer to the equipment manufacturer's compatibility documentation before installation. C-LIGHT provides a range of optical transceivers for different network speeds, distances, and applications.
2. Prepare the Equipment and Installation Environment
Prepare the switch, router, fiber cables, and optical transceiver before connecting the link. A clean installation environment helps prevent dust contamination and accidental damage.
Confirm the correct switch or router port and check its supported module specifications.
Inspect the SFP transceiver housing, electrical interface, and latch for visible damage.
Keep the optical connector dust caps installed until the fiber connection is ready.
Use compatible fiber patch cords with the correct connector type and fiber grade.
Check that the equipment has adequate ventilation and operates within the specified temperature range.
Review the equipment's installation instructions and any applicable electrostatic discharge precautions.
Many SFP interfaces support hot-plugging, but this does not mean every installation procedure is identical. Follow the host equipment manufacturer's instructions, particularly for equipment that requires a shutdown or specific port configuration.
3. Insert the SFP Optical Transceiver into the Host Port
Once compatibility and preparation have been confirmed, the module can be installed in the appropriate SFP slot.
Identify the correct port: Locate the SFP interface on the switch, router, or network device. Confirm that the selected port supports the module's form factor and data rate.
Check the module orientation: Align the transceiver with the port's guide rails and the manufacturer's specified insertion direction.
Release the locking mechanism if necessary: Position the bail latch or pull tab according to the module design so that it does not obstruct insertion.
Insert the module carefully: Slide the transceiver into the port until it is fully seated and the retention mechanism engages.
Confirm secure installation: Check that the module is properly aligned and retained. Do not force it into the slot if resistance is encountered.
Different SFP modules use different latch designs, including bail latches and pull tabs. The exact handling method depends on the module construction. Avoid touching the electrical contacts or optical connector end face.
4. Connect the Fiber Optic Patch Cord
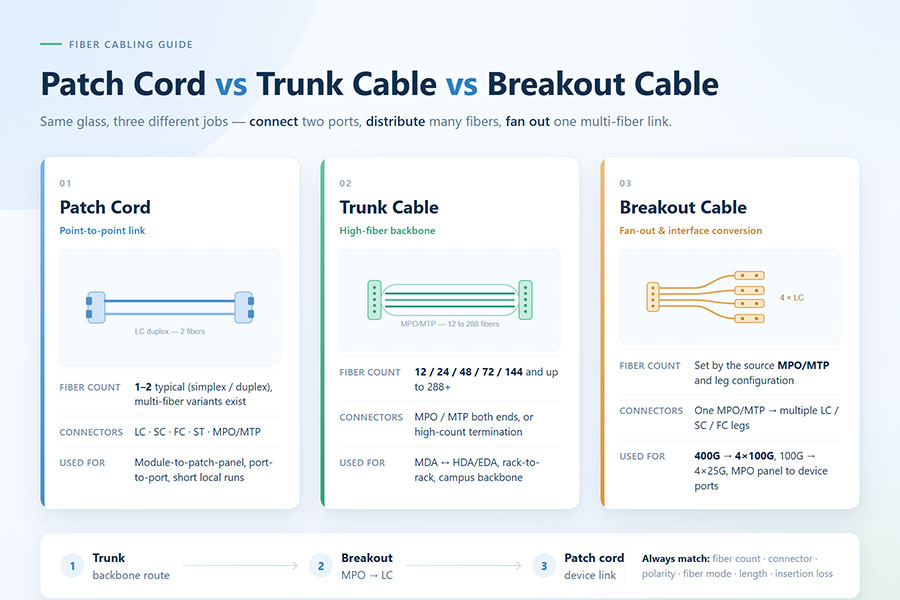
After the transceiver is seated, connect the appropriate fiber patch cord. Correct fiber selection and polarity are essential for establishing a reliable optical link.
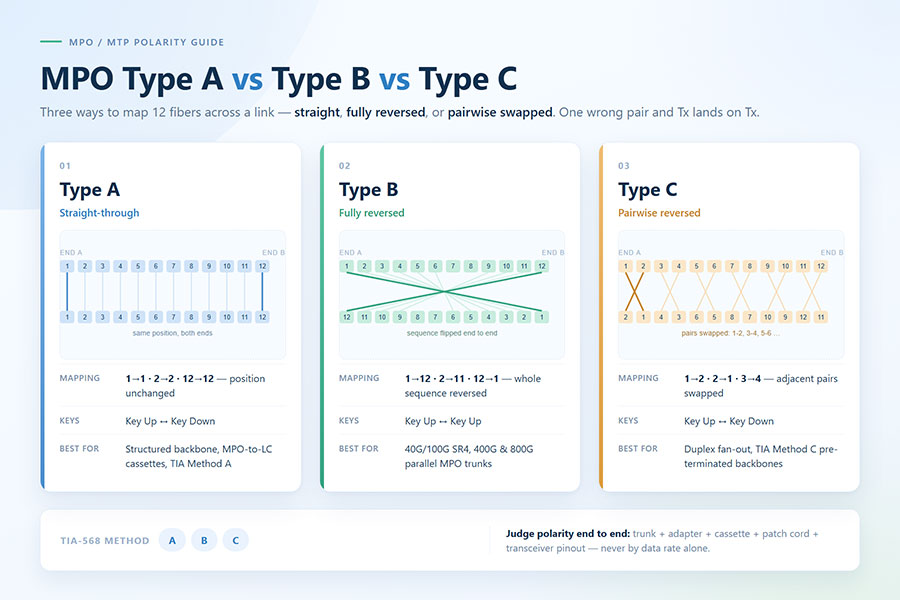
Duplex LC connections: Most standard duplex SFP optical transceivers use two optical paths: one for transmitting and one for receiving. The Tx port at one end must connect to the Rx port at the other end, and vice versa.
Simplex BiDi connections: BiDi transceivers use a single fiber for bidirectional communication through different transmit and receive wavelengths. The two ends must be complementary wavelength pairs. For example, a 1310nm Tx/1490nm Rx module must be paired with a compatible 1490nm Tx/1310nm Rx module.
Before connecting the patch cord:
Remove the dust caps from the transceiver and fiber connector only when ready to connect.
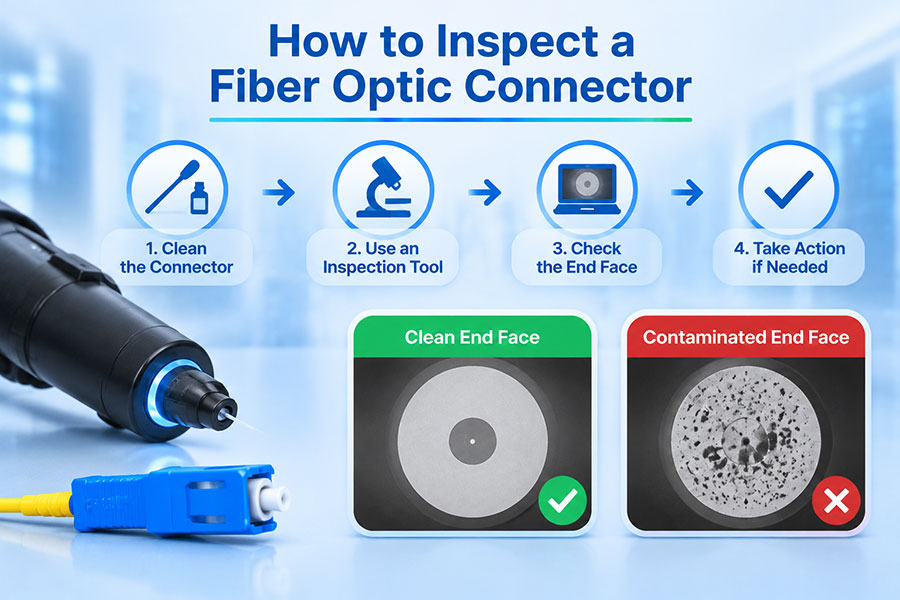
Inspect and clean the connector end faces using appropriate fiber-optic inspection and cleaning tools.
Confirm that the patch cord matches the transceiver's fiber type and connector specifications.
Check Tx/Rx polarity for duplex connections.
Ensure that the connector is fully seated without applying excessive force.
Avoid sharp bends, excessive pulling, or unnecessary tension on the fiber cable.
Never look directly into an optical transceiver port or the end of a connected fiber. Invisible laser radiation may be present. Use appropriate inspection equipment and follow optical laser safety procedures.
5. Configure the Switch or Router Port
After the physical connection is complete, check the host device's interface configuration. Some platforms automatically recognize compatible SFP modules, while others may require interface configuration or administrative activation.
Common configuration items include:
Enabling the selected interface.
Confirming the correct port speed and supported operating mode.
Checking whether auto-negotiation is required or supported.
Configuring VLANs, trunking, or other Layer 2 settings where applicable.
Verifying interface status and reviewing system logs for transceiver warnings.
Configuration commands vary by manufacturer and operating system. Always use the documentation for the specific switch or router rather than applying commands from a different platform.
For example, Cisco IOS-based devices commonly provide commands such as show interfaces status and show interfaces transceiver detail on supported platforms. These can help identify interface state and available optical diagnostic information.
6. Verify the Optical Link After Installation
Once the module and fiber are connected and the interface is configured, verify that the optical link is operating normally. A successful physical insertion does not necessarily mean that the connection has been established.
| Verification item | Expected result | What an abnormal result may indicate |
|---|---|---|
| Module recognition | Host device identifies the transceiver | Unsupported coding, poor seating, incompatible module, or host restriction |
| Port status | Interface reports link up | Fiber disconnection, polarity issue, incompatible settings, or remote-side problem |
| Transmit power | Within the module's specified range | Possible transmitter, configuration, or measurement issue |
| Receive power | Within the receiver's specified operating range | Possible fiber loss, polarity problem, contamination, or remote transmitter issue |
| Temperature and voltage | Within the supported operating limits | Possible thermal, power supply, or module issue |
| BER and interface errors | No abnormal error accumulation under the test conditions | Possible signal integrity, optical margin, fiber, or configuration problem |
Many SFP modules support Digital Diagnostic Monitoring (DDM), also called Digital Optical Monitoring (DOM). Depending on the module and host platform, DDM/DOM can report:
Transmitter optical power (Tx Power).
Receiver optical power (Rx Power).
Laser bias current.
Module temperature.
Supply voltage.
Compare the readings with the specific transceiver's datasheet limits. A displayed value alone does not prove that the entire link meets its performance requirements. For critical links, use suitable optical test equipment and verify the connection under the required operating conditions.
7. Common SFP Installation Problems and Solutions
If the interface remains down after installation, check the physical connection, optical specifications, and host configuration systematically.
| Problem | Possible cause | Recommended check |
|---|---|---|
| SFP module not recognized | Unsupported module coding, incompatible form factor, or incomplete insertion | Check host compatibility, module identification, and seating |
| Link remains down | Fiber disconnected, incorrect polarity, remote port disabled, or speed mismatch | Check both ends, fiber polarity, port configuration, and remote status |
| Low receive optical power | Excessive fiber loss, dirty connectors, damaged patch cord, or incorrect optical pairing | Inspect connectors, test the fiber path, and verify wavelength compatibility |
| Intermittent connection | Loose connection, unstable power, thermal issue, or compatibility problem | Review interface logs, temperature readings, and connection stability |
| High BER or interface errors | Insufficient optical margin, signal quality issue, or configuration mismatch | Check optical levels, fiber condition, speed settings, and error counters |
| Abnormal DDM readings | Module fault, host reporting issue, or operation outside specified conditions | Compare readings with the datasheet and verify using suitable test equipment |
When troubleshooting, change one variable at a time where practical. Testing a known-good patch cord, checking the remote transceiver, and reviewing host logs can help isolate the source of the problem without unnecessarily replacing working components.
8. Important Precautions When Installing or Replacing an SFP Module
Correct handling helps protect the module and maintain long-term connection reliability.
Observe laser safety: Never look into an optical port or fiber end, even when the link appears inactive.
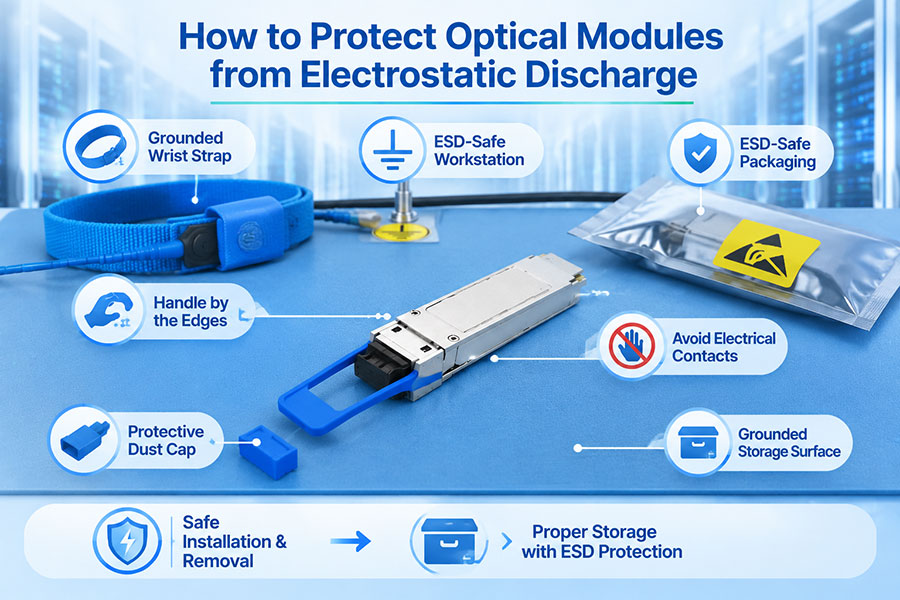
Protect against electrostatic discharge: Follow the manufacturer's ESD handling recommendations and use appropriate protective equipment.
Keep connectors clean: Dust and oil on optical end faces can increase insertion loss and cause unstable links.
Use the correct fiber type: Match single-mode or multimode fiber to the transceiver specifications.
Avoid excessive insertion force: If the module does not slide into the port normally, stop and check its orientation and compatibility.
Use dust caps during storage: Protect unused optical interfaces from dust and physical damage.
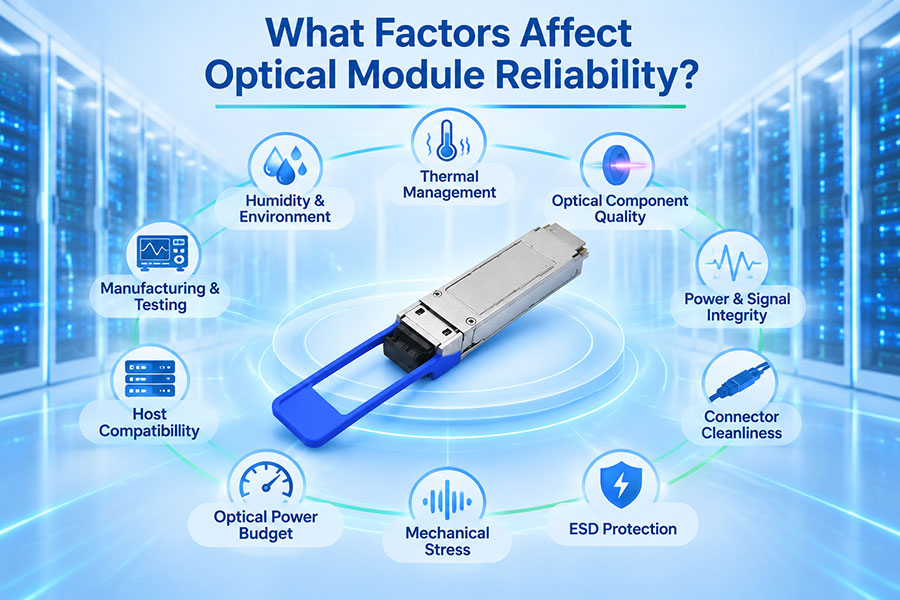
Check thermal conditions: Ensure that the transceiver operates within its rated temperature range and receives sufficient airflow.
Hot-pluggable SFP modules can generally be inserted or removed while compatible host equipment remains powered. However, the network may experience service interruption if the affected link is carrying active traffic. For production networks, plan replacements around redundancy, maintenance windows, and the equipment manufacturer's procedures.
9. Conclusion: Proper Installation Ensures Reliable SFP Connectivity
Installing an SFP optical transceiver involves several essential steps: verifying host compatibility, preparing the equipment, inserting the module correctly, connecting the appropriate fiber, configuring the interface, and confirming optical link performance.
Most installation problems are associated with mismatched optical specifications, unsupported host modules, incorrect fiber polarity, dirty connectors, or port configuration issues. A structured installation and verification process helps reduce these problems and supports stable network connectivity.
For SFP, SFP+, SFP28, and other optical transceiver requirements, Contact C-LIGHT.
 >

 >
 >
 >
 >
 >
 >
 >