TEL:+86 132 6656 7067





QSFP-DD (Quad Small Form-factor Pluggable Double Density) is a high-density optical transceiver form factor widely used in 400G data center networks, high-performance computing infrastructure, and cloud networking. Its eight-lane electrical interface supports high aggregate bandwidth while maintaining a compact pluggable design.
Installing a QSFP-DD optical module involves more than inserting it into a switch port. Engineers must verify host compatibility, check optical specifications, observe electrostatic discharge precautions, secure the module correctly, and connect the appropriate fiber interface. Thermal requirements also deserve attention because high-speed QSFP-DD modules can generate considerable heat during operation.
1. Check QSFP-DD Module and Host Compatibility
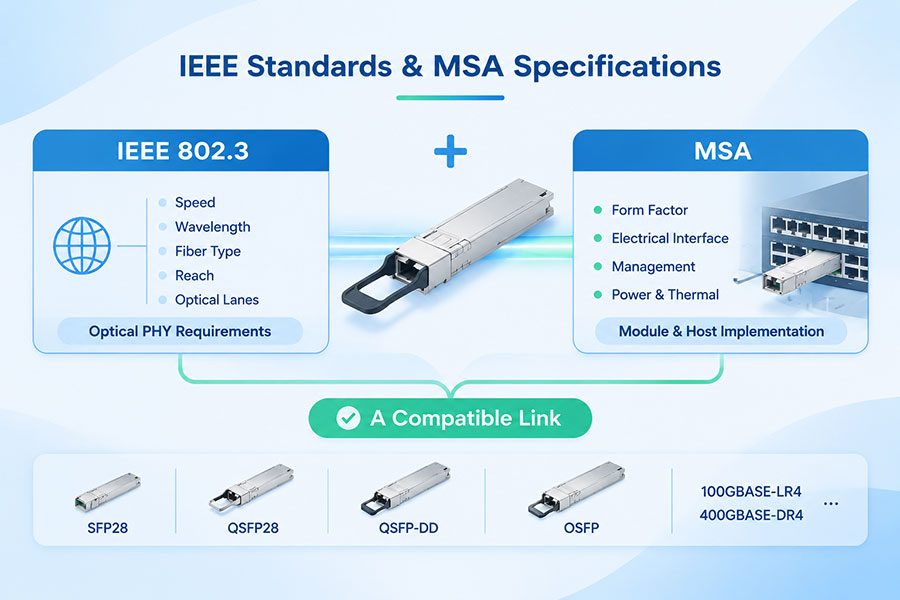
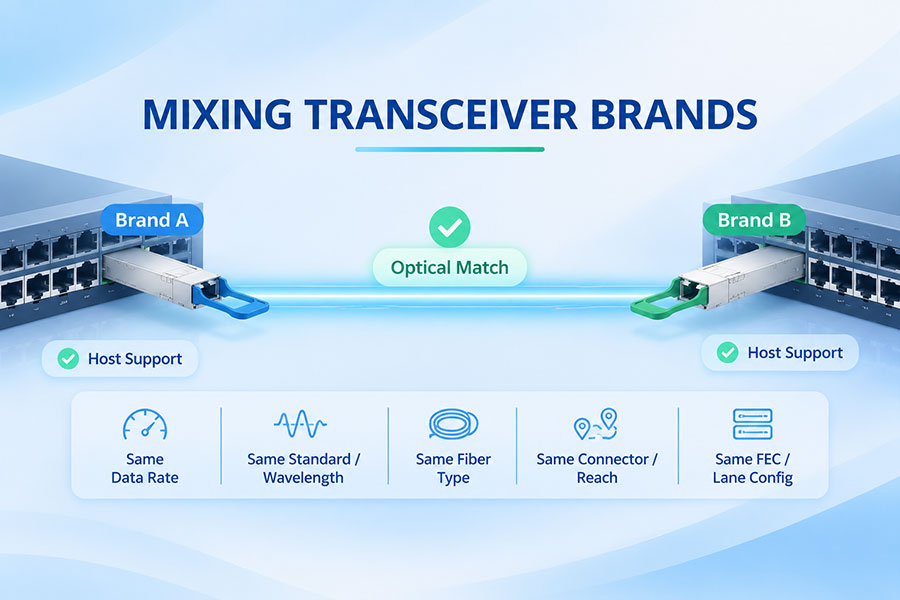
Before installation, confirm that the optical module is supported by the switch, router, or other host equipment. Although QSFP-DD defines a standardized mechanical and electrical interface, not every QSFP-DD module works in every QSFP-DD port.
| Compatibility factor | What to verify |
|---|---|
| Form factor | Confirm that the host port supports QSFP-DD or the specific QSFP-DD generation required by the module. |
| Data rate | Check whether the port supports 400G, 800G, or the intended operating mode. |
| Electrical interface | Verify supported host lane rates, signaling, and module electrical specifications. |
| Optical standard | Match the module type, such as SR8, DR4, FR4, LR4, or another supported optical interface. |
| Wavelength | Confirm that the transmitting and receiving wavelengths are appropriate for the intended link. |
| Fiber type | Check whether the module requires single-mode or multimode fiber. |
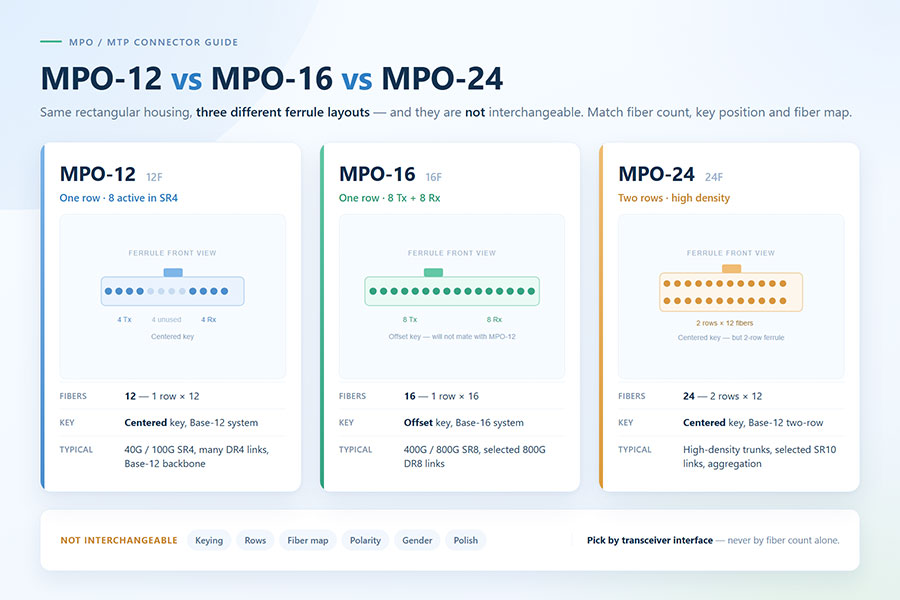
| Connector | Verify the required optical connector, such as MPO/MTP or duplex LC. |
| Power and cooling | Confirm that the host supports the module's power consumption and thermal requirements. |
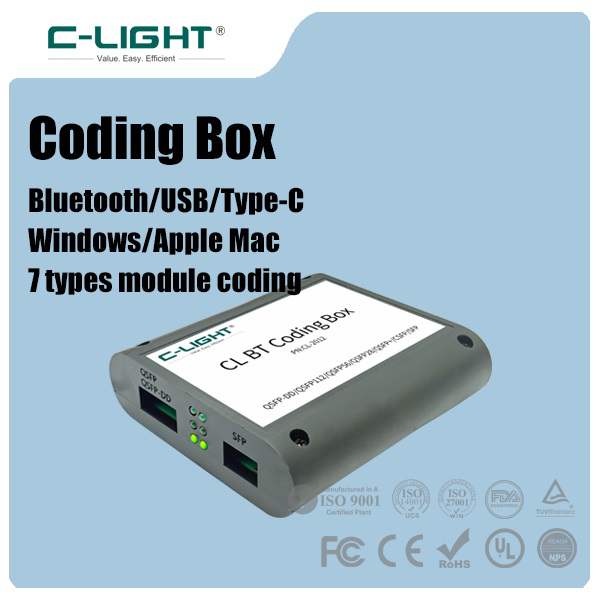
| Host compatibility | Check supported module coding, firmware, and equipment compatibility documentation. |
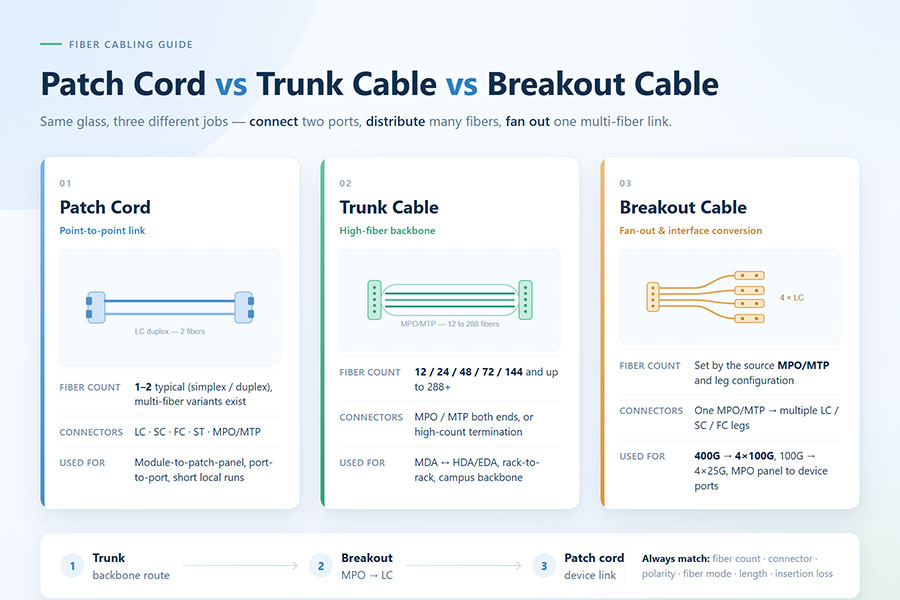
For example, a 400G QSFP-DD DR4 module typically uses single-mode fiber with an MPO-12 interface, while a 400G QSFP-DD FR4 module typically uses duplex LC connectors over single-mode fiber. These modules have different optical architectures and connection requirements.
QSFP-DD and QSFP-DD800 should also be distinguished. The latter specification extends the platform for higher electrical lane rates and 800G applications. Physical form-factor similarity does not guarantee that an older host port supports every newer module generation or operating mode.
For product selection, C-LIGHT offers 400G QSFP-DD and 800G QSFP-DD optical transceivers for different high-speed networking applications.
2. Prepare the Installation Tools and Environment
Prepare the host device, optical module, fiber patch cord, and inspection equipment before installation. A clean and controlled working environment helps reduce contamination, electrostatic damage, and connection problems.
Recommended preparation includes:
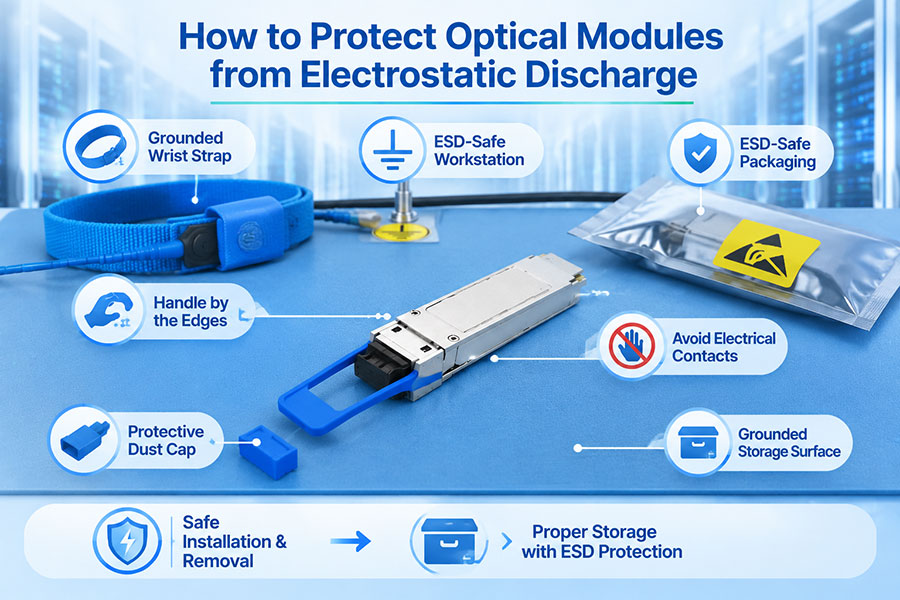
ESD wrist strap connected to an appropriate grounded point.
Antistatic work surface or protective packaging for handling the module.
Compatible fiber patch cords and connector types.
Fiber-optic connector inspection and cleaning equipment.
Host equipment documentation and module compatibility information.
Appropriate optical safety procedures and protective equipment.
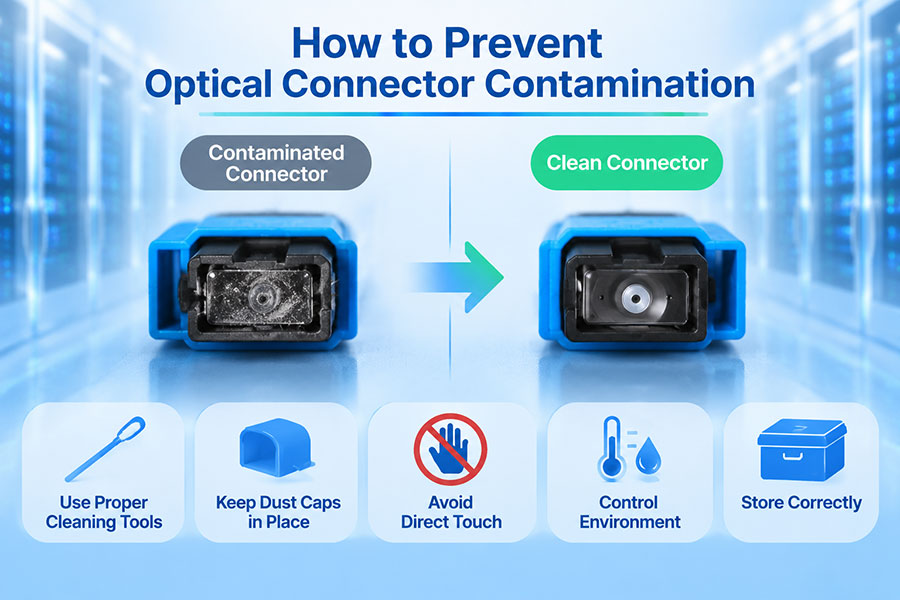
QSFP-DD modules contain sensitive electronic and optical components. Avoid touching electrical contacts or exposed optical interfaces. Keep the protective dust plug installed until the module is ready for fiber connection.
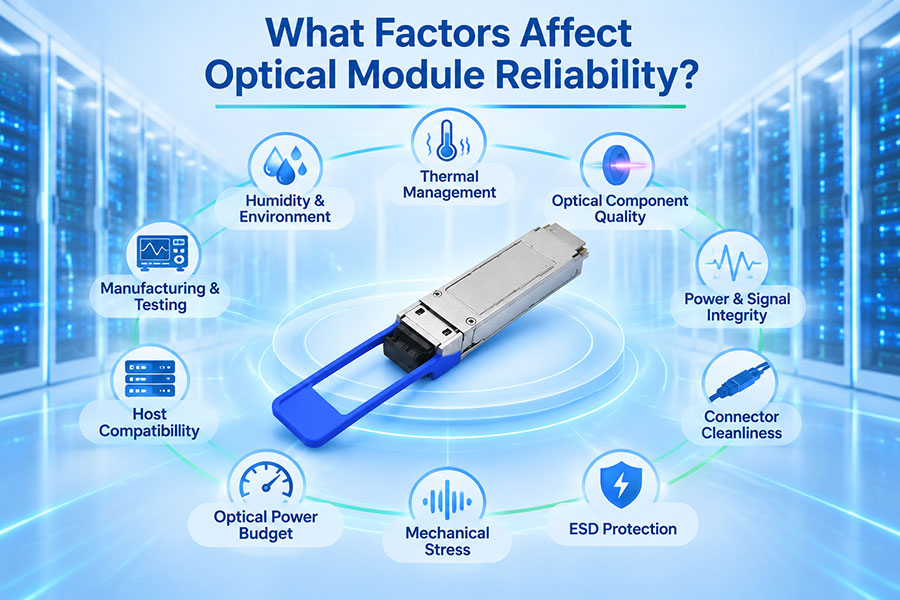
Also check the host chassis airflow direction and cooling configuration. High-speed optical modules must operate within their specified temperature limits, and the switch or router must provide the cooling capacity required by the installed module.
3. Identify the QSFP-DD Module Orientation
Before inserting the module, examine its housing, pull tab, and electrical interface. The QSFP-DD form factor uses a defined mechanical interface designed to fit a compatible QSFP-DD cage.
Most QSFP-DD optical modules use a pull-tab mechanism for insertion and removal. The pull tab provides a designated handling point and is also used to release the module's retention mechanism during removal.
Before insertion:
Check the module label to confirm its model and optical specifications.
Identify the correct orientation of the electrical interface.
Locate the pull tab and ensure that it is positioned according to the manufacturer's instructions.
Check that the host port is free of obstructions and its protective cover has been removed.
Make sure the module housing is not visibly damaged.
Do not force the module into the cage. If it does not align with the port, remove it and check the orientation rather than applying additional pressure.
4. Insert the QSFP-DD Optical Module into the Host Port
After compatibility and preparation checks are complete, insert the QSFP-DD module into the designated host port.
Apply ESD protection: Wear an ESD wrist strap connected to an appropriate grounding point before handling the module.
Remove protective packaging: Take the module out of its antistatic packaging and inspect its housing and connector protection.
Check the module label: Confirm the model, data rate, optical standard, and other relevant specifications.
Align the module: Position the QSFP-DD module in front of the host cage with the electrical interface facing the correct direction.
Hold the designated pull tab: Use the module's intended handling feature rather than pressing on the optical interface or electrical contacts.
Slide the module into the cage: Insert it smoothly and keep it aligned with the port guides.
Seat the module fully: Continue insertion until the module reaches its fully seated position and the retention mechanism engages.
Do not use excessive force. If the module encounters resistance, stop and check its orientation, port compatibility, and mechanical alignment. The exact insertion procedure may vary slightly between host platforms, so follow the equipment manufacturer's instructions.
5. Connect the Fiber Optic Cable
Once the QSFP-DD module is properly seated, connect the fiber-optic cable that matches its optical interface. Connector type, fiber grade, polarity, and transmission distance must all be consistent with the module specifications.
Common QSFP-DD optical interfaces include:
| Module type | Typical fiber | Common connector | Application |
|---|---|---|---|
| 400G SR8 | Multimode fiber | MPO-16 | Short-reach data center links |
| 400G DR4 | Single-mode fiber | MPO-12 | Parallel single-mode transmission |
| 400G FR4 | Single-mode fiber | Duplex LC | Four-wavelength WDM transmission |
| 400G LR4 | Single-mode fiber | Duplex LC | Longer-reach WDM transmission |
The table shows common interface configurations; exact connector specifications and reach depend on the particular module standard and product implementation.
Follow these steps when connecting the fiber:
Keep the optical dust plug installed until the fiber cable is ready.
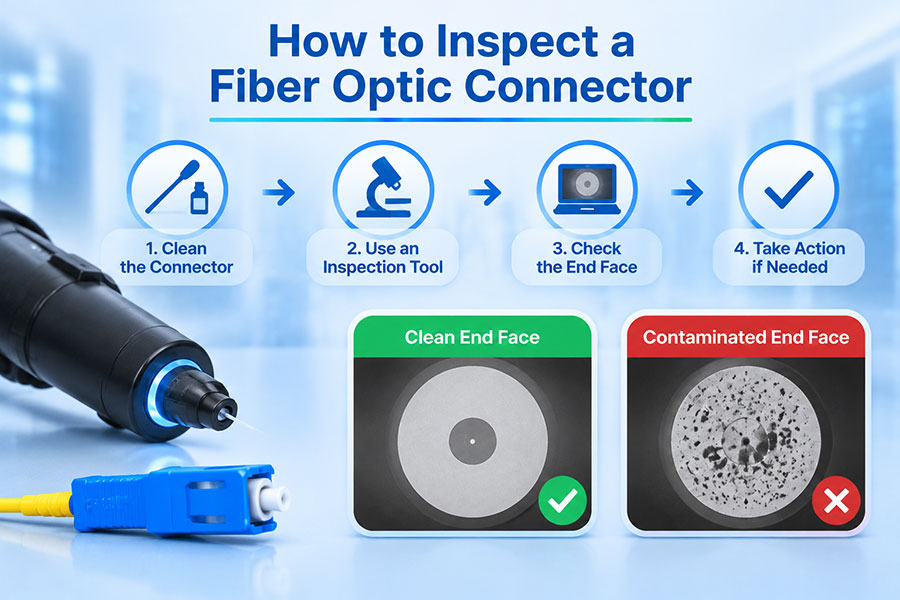
Inspect the connector end faces using suitable fiber inspection equipment.
Clean connectors when necessary using approved cleaning tools.
Remove the protective caps from the module and fiber connector.
Align the connector with the module's optical interface.
Insert the connector carefully until it is fully seated and secured.
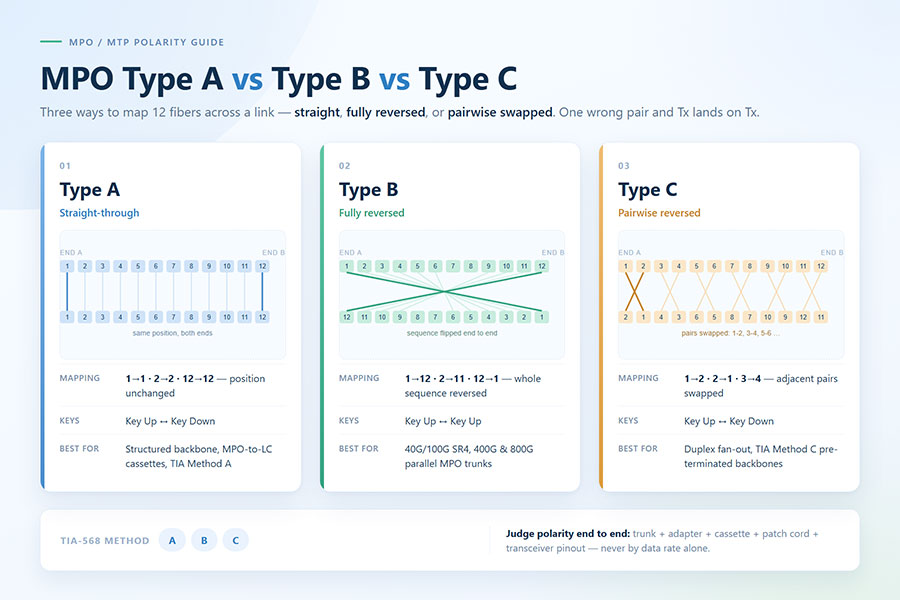
Check fiber polarity and confirm that the remote end uses a compatible optical interface.
For MPO-based connections, correct polarity and fiber mapping are particularly important. A connector that physically fits may still produce an incorrect link if the transmit and receive fiber positions do not match the remote interface.
Never look directly into an optical transceiver port or fiber connector. Invisible laser radiation may be present even when no visible light can be seen.
6. Configure the Switch Port and Verify Module Recognition
After the physical installation, check whether the host device recognizes the QSFP-DD module. Depending on the platform, the interface may automatically detect the module, or it may require configuration before the link becomes operational.
Typical verification items include:
Module identification and supported optical type.
Port administrative and operational status.
Supported data rate and interface mode.
Breakout configuration, if the port is configured for multiple lower-speed interfaces.
Firmware and module compatibility warnings.
Optical diagnostic information where DDM/DOM is supported.
On supported Cisco platforms, commands such as show interfaces status and show interfaces transceiver detail can help inspect port and transceiver information. Command availability and output vary by operating system and hardware model.
Do not assume that every 400G QSFP-DD port automatically operates as a single 400G interface. Some platforms support breakout configurations, allowing one physical port to be configured as multiple lower-speed interfaces. The supported breakout modes depend on the switch ASIC, port configuration, and transceiver or cable type.
7. Check Optical Power and Link Performance
Once the module is recognized, verify that the optical connection is operating within the required performance limits. A module can be mechanically installed and recognized by the host while the optical link remains down because of fiber, polarity, or configuration issues.
| Verification item | What to check | Possible problem indicated |
|---|---|---|
| Module recognition | Correct module identification and supported status | Compatibility or module-detection issue |
| Link status | Interface reports operational link | Fiber connection, polarity, or configuration problem |
| Tx optical power | Within the module's specified limits | Transmitter or diagnostic issue |
| Rx optical power | Within the receiver's specified operating range | Excessive loss, contamination, or remote transmitter issue |
| Module temperature | Within the specified operating range | Insufficient cooling or excessive ambient temperature |
| BER and error counters | Stable performance under the required test conditions | Optical margin, signal integrity, or configuration issue |
DDM/DOM information can provide useful monitoring data, including temperature, supply voltage, transmitter bias current, Tx optical power, and Rx optical power when supported. These measurements help identify abnormal operating conditions but do not replace full optical performance testing.
For critical 400G and 800G links, engineers may also perform BER testing, traffic validation, and checks of FEC status and link stability. The test procedure should match the optical standard and the host platform's supported operating mode.
8. Important Thermal Considerations for QSFP-DD Installation
Thermal management is especially important for high-speed QSFP-DD modules because their compact packaging contains multiple high-speed electrical and optical components. DSPs, laser drivers, receiver circuits, and other components generate heat during operation.
Insufficient cooling can cause elevated internal temperatures, reduced operating margin, and increased long-term component stress. The module may also report temperature warnings or experience performance instability if it operates outside its specified conditions.
To maintain suitable thermal conditions:
Confirm that the host switch supports the module's power consumption and thermal requirements.
Maintain the chassis airflow direction specified by the equipment manufacturer.
Keep air intake and exhaust paths unobstructed.
Check that the module is fully seated and that the designed thermal interface is correctly engaged.
Monitor module temperature through supported diagnostic functions.
Avoid operating the module beyond its specified temperature range.
QSFP-DD cage and heatsink designs are engineered to support heat transfer from the module into the host cooling structure. The thermal performance therefore depends on the complete system, including the module, cage, heatsink arrangement, chassis airflow, and fan configuration.
When installing multiple high-power optical modules in a densely populated switch, evaluate the combined thermal load rather than considering each module independently.
9. Common QSFP-DD Installation Problems and Solutions
If the module is not recognized or the optical link does not come up, troubleshoot the physical installation, compatibility, fiber connection, and host configuration systematically.
| Problem | Possible cause | Recommended action |
|---|---|---|
| Module cannot be inserted | Incorrect orientation or mechanical incompatibility | Check the module direction and supported host form factor |
| Module not recognized | Unsupported coding, firmware restriction, or incomplete seating | Check host compatibility and module identification |
| Link remains down | Incorrect fiber connection, polarity, or port configuration | Check both ends of the link and verify the interface mode |
| Low Rx power | Dirty connector, excessive fiber loss, or incorrect fiber mapping | Inspect connectors and test the optical path |
| High BER | Insufficient optical margin, signal integrity issue, or configuration mismatch | Review optical levels, FEC configuration, and link parameters |
| High module temperature | Insufficient airflow or unsupported thermal configuration | Check chassis cooling, module power requirements, and temperature limits |
| Intermittent connection | Loose connection, unstable operating conditions, or compatibility issue | Review logs, optical diagnostics, and physical connections |
When troubleshooting, avoid repeatedly inserting and removing the module without identifying the likely cause. Record the module identification, host port status, optical readings, and error logs to support a more accurate diagnosis.
10. Conclusion: Correct QSFP-DD Installation Supports Reliable High-Speed Links
Installing a QSFP-DD optical module requires careful compatibility checks, ESD protection, correct mechanical alignment, suitable fiber connections, and post-installation verification. For 400G and 800G applications, electrical interface support, optical standards, breakout configuration, and thermal requirements must also be considered.
A correctly installed module should be recognized by the host device, operate within its specified temperature and optical power limits, and establish a stable link with the remote transceiver. Combining proper handling with optical testing and thermal monitoring helps reduce installation errors and supports reliable high-speed network operation.
For 400G, 800G, and other high-speed optical transceiver requirements, Contact C-LIGHT.
 >

 >
 >
 >
 >
 >
 >
 >